Showing posts with label Made by Me. Show all posts

Wednesday, July 13, 2011

Blogging from my nook

The thing about not feeling well is that usually you have two choices:

One: you can get the rest that your body needs.

Two: you can employ the "fake it 'til you make it" strategy and try to maintain your regular schedule.

Based on recent experience, I've concluded that both these approaches are flawed. For example, if you decide to listen to your body and stay in bed until the day comes that you feel better, that day may never come. When you lie in bed, in your jammies all day waiting to recover, your brain keeps sending your body the message, "You're not feeling well, you're not feeling well." Your body will believe your brain and your recovery will be prolonged.

On the other hand, however, if you decide to keep up your rigorous schedule of post-vacation laundry, dishes, running the kids to track and piano and the dentist, then making sure to do a summer craft project daily, you will, indeed, run yourself ragged. Your body will not have the resources it needs to heal itself and your recovery will be prolonged.

In light of this evidence, what's a busy mom to do when she's feeling under the weather? Having tried both of these methods this week, today I've decided to try a third "happy medium" type option. Instead of lying in bed like a slug OR trying to be super mom, today I'll try getting dressed and, while sitting on my couch, teaching myself to blog from my nook. And you know what?

I think I'm feeling a little better.

Wednesday, June 8, 2011

Tortellini Pasta Salad You're Gonna Love

Tortellini Pasta Salad


Recipe by Our Best Bites

1 20-oz. package Mixed Cheese Tortellini
1/2 medium red onion, thinly sliced
1 pint cherry tomatoes, halved
1/2 medium cucumber, seeded and sliced
1 c. whole, large pitted black olives halved
1 c. Ground Mustard and Garlic Vinaigrette (recipe below)

Cook the pasta according to package directions. Meanwhile, combine the onions, tomatoes, cucumber, and olives in a large salad bowl. When the pasta is done cooking, drain and rinse in cold water. When the pasta has cooled, toss it with the combined ingredients and then add the salad dressing and toss until combined. If possible, refrigerate for at least an hour before serving. Serves about 8.

** Note from Kari- I left out the onions and didn’t bother with seeding the cucumbers (just sliced them). I also added a jar of marinated artichoke hearts that were a big hit.


Ground Mustard and Garlic Vinaigrette

Recipe by Our Best Bites

1/4 c. freshly squeezed lemon juice
1/4 c. white wine vinegar or rice vinegar; try to avoid plain white vinegar because it’s too strong here
2 green onions, firm parts only, trimmed of the white “furry” ends
4-5 cloves of garlic
1/2 tsp. Kosher salt
1/4 tsp. freshly ground black pepper
1 tsp. sugar or honey
2 Tbsp. coarse grain mustard
1 c. canola oil

In the jar of your blender, combine all the ingredients except for the oil. Blend on high. While the blender is running, slowly add the oil in a steady stream. Serve over mixed greens, sliced cucumbers and thinly sliced red onions.  If possible, refrigerate the dressing for a few hours before serving.

If you prefer a more “rustic” vinaigrette, pulse the ingredients together in the blender and then pulse the oil in larger quantities. Transfer to a lidded container and shake vigorously before serving

** Note from Kari- I made this dressing both with garlic cloves, as called for, and garlic powder. The cloves were quite overpowering and I actually (surprisingly) preferred the garlic powder.  And, you know me, I also left out the onions. 


picture from ourbestbites.com

Friday, May 13, 2011

Breaking Bread

I recently discovered this yummy party bread recipe. I brought it to my parents' house for Mother's Day to try out. I can't speak for anybody else but I thought it was DE-licious! (We didn't bring any home when we left, that's a good sign, right?)


Savory Party Bread
Taste of Home

Ingredients
1 unsliced round loaf (1 pound) sourdough bread
1 pound Monterey Jack cheese, sliced or shredded
1/2 cup butter, melted
1/2 cup chopped green onions (I'm not a huge onion fan, so I used 3 cloves of minced garlic instead)
2 to 3 teaspoons poppy seeds

Directions
Cut the bread lengthwise and widthwise without cutting through the bottom crust. Insert cheese between cuts. Combine butter, onions and poppy seeds; drizzle over the bread. Wrap in foil; place on a baking sheet.

Bake at 350° for 15 minutes. Unwrap; bake 10 minutes longer or until the cheese is melted.


Try it out. Seriously, it's so good!

Wednesday, April 20, 2011

*UPDATE* Silk Dyed Easter Eggs

Yesterday, I wrote about these silk-dyed Easter eggs (originally from Our Best Bites).  I was curious if I could get my eggs to look even better.  So, today I did another batch and here's what I found:
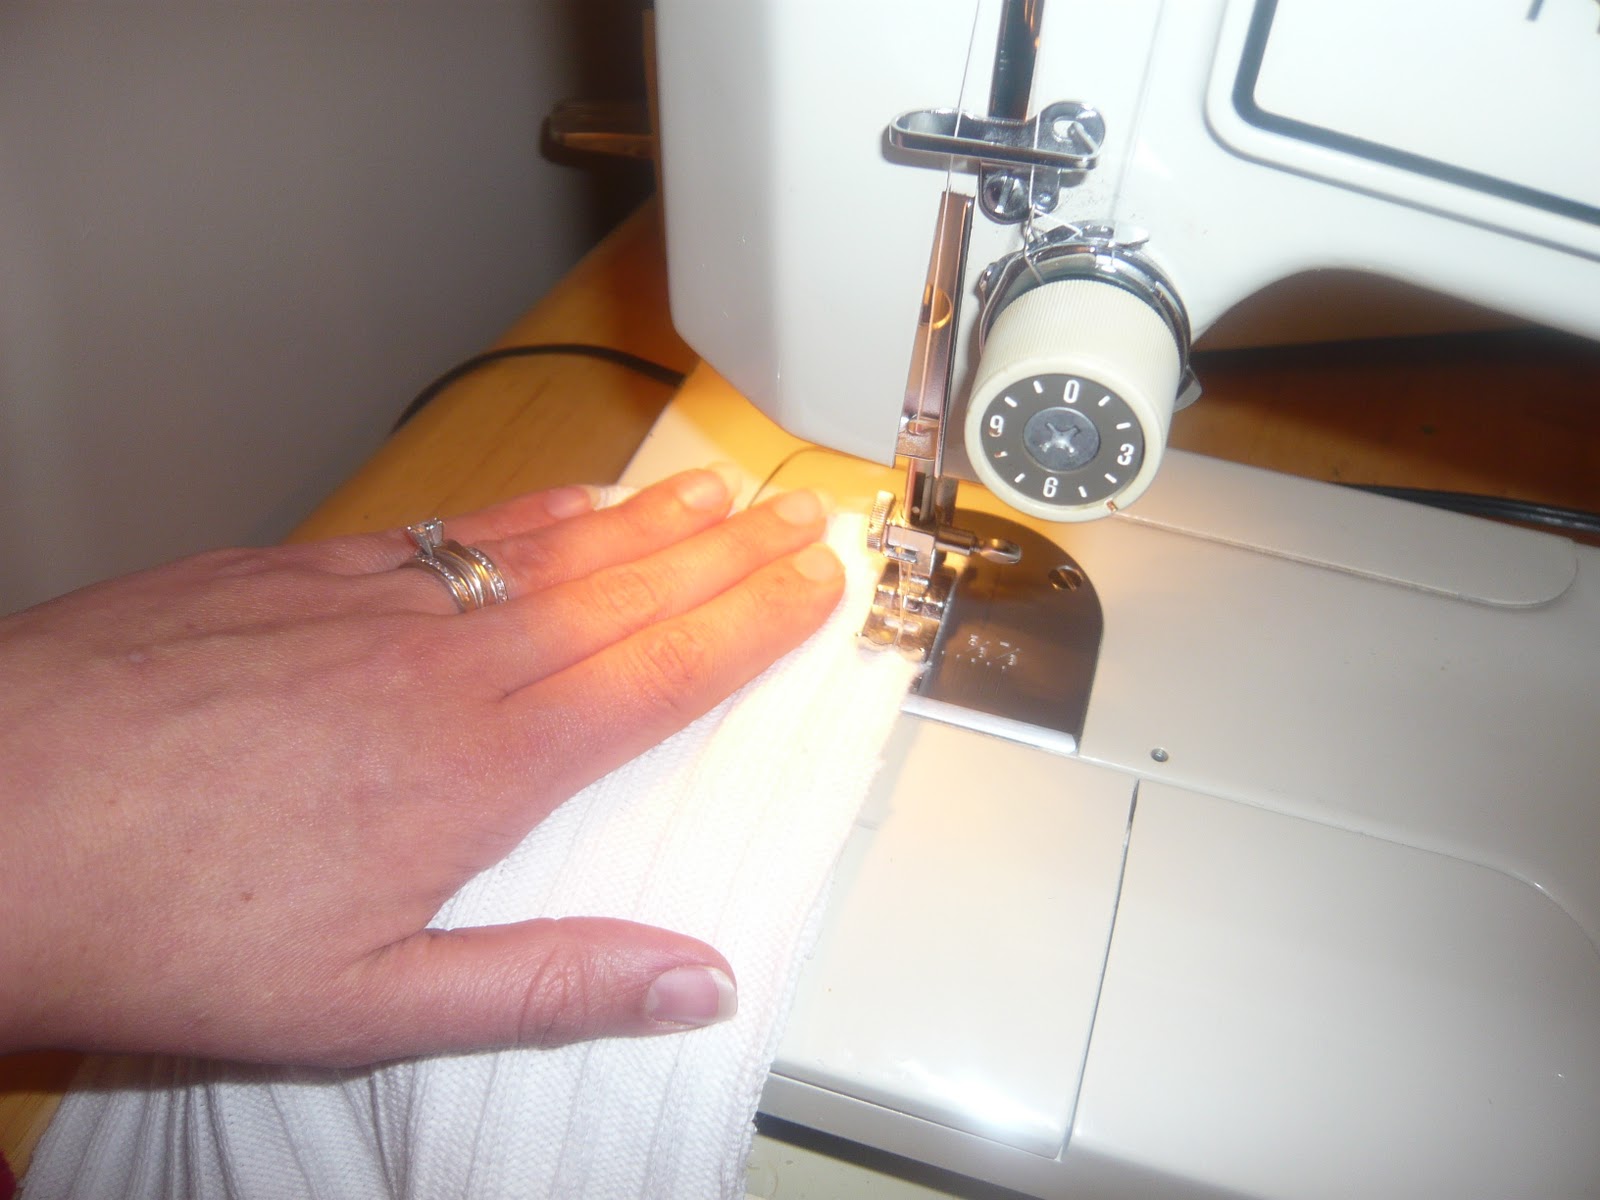
- Instead of gathering the silk around the egg and tying it off at the top, I tried laying the egg on its side and rolling it tightly in the silk (right side still facing toward the egg).  Then I tied both ends off with an elastic.  The result looked a bit like a tootsie roll.  This method was easier for me to get nice and tight.

What do you think?  The picture on the left is from yesterday's bunchy bunch, the photo on the right is from today's tootsie roll bunch.  Both eggs were done using the same tie.     

The egg on the right has better color and the details from the ties design are clearer.  Also, the egg on the right has better coverage and fewer whites spots.

I think they look great!

Let me know if you try it, I'd love to see how yours turn out!

Tuesday, April 19, 2011

Silk Dyed Easter Eggs

I saw this idea for silk-dyed Easter eggs over at Our Best Bites and I immediately wanted to try it out with the kiddos.  It was so much fun to try something new!  Here's what we did:

- Empty the eggs by carefully poking a hole in the top and bottom of an egg with a safety pin.  Pick at the holes with your pin until they're big enough to fit a small skewer into. Put the skewer into the egg and scramble everything up really good. 

The ladies over at Our Best Bites had the brilliant idea of using a bulb syringe to get the insides out of the egg.  I didn't have one so I did it the old fashioned way.  Kind of like blowing up a balloon, blow all of the gunk out of the egg.  (My kids thought this part was awfully funny.)  Rinse the egg a few times.


- We picked out some of the ugliest ties that we could find from the D.I. (the local thrift store).  Make sure that they are 100% Silk.  Polyester ain't gonna cut it.


-This was another step that the kids loved.  Disassemble the ties.  I just snipped a few of the more obvious seams and then ripped it by hand after that.  When this part is done you'll be left with just the silk.

- Tightly wrap the tie around an egg.  The right side of the tie (the part that faces out if you were wearing it) should be touching the egg.  I used rubber bands and twisty ties to secure them.  They'll look something like this:


- Wrap each of the eggs with a piece of light weight, white fabric. (While I was at the D.I. I also picked up a white sheet.)


- Put all of the little bundles in a pot of boiling water and 1/4 cup vinegar.  They'll boil for about 20 mins.

- After they were done boiling I put them in a colander to drain a bit and cool down.  As soon as they were cool enough to touch I was unwrapping them.  Here's what we found:

Each egg was a surprise.  Some of the them turned out great, a few were a little blah.  It seemed that the reds and blues came out looking the most vibrant.  Some of the ties that I thought would be duds turned out the most beautifully.

So, if you have some old ties lying around or if you end up at a thrift store before Easter give this a try.  The kids had so much fun with it (and so did I)!

*If you decide not to empty the eggs out before dyeing them, don't eat them afterward. The dyes in ties aren't made to be safe to consume.


Tuesday, November 30, 2010

Girls' Weekend Part 5


Mom's Class:

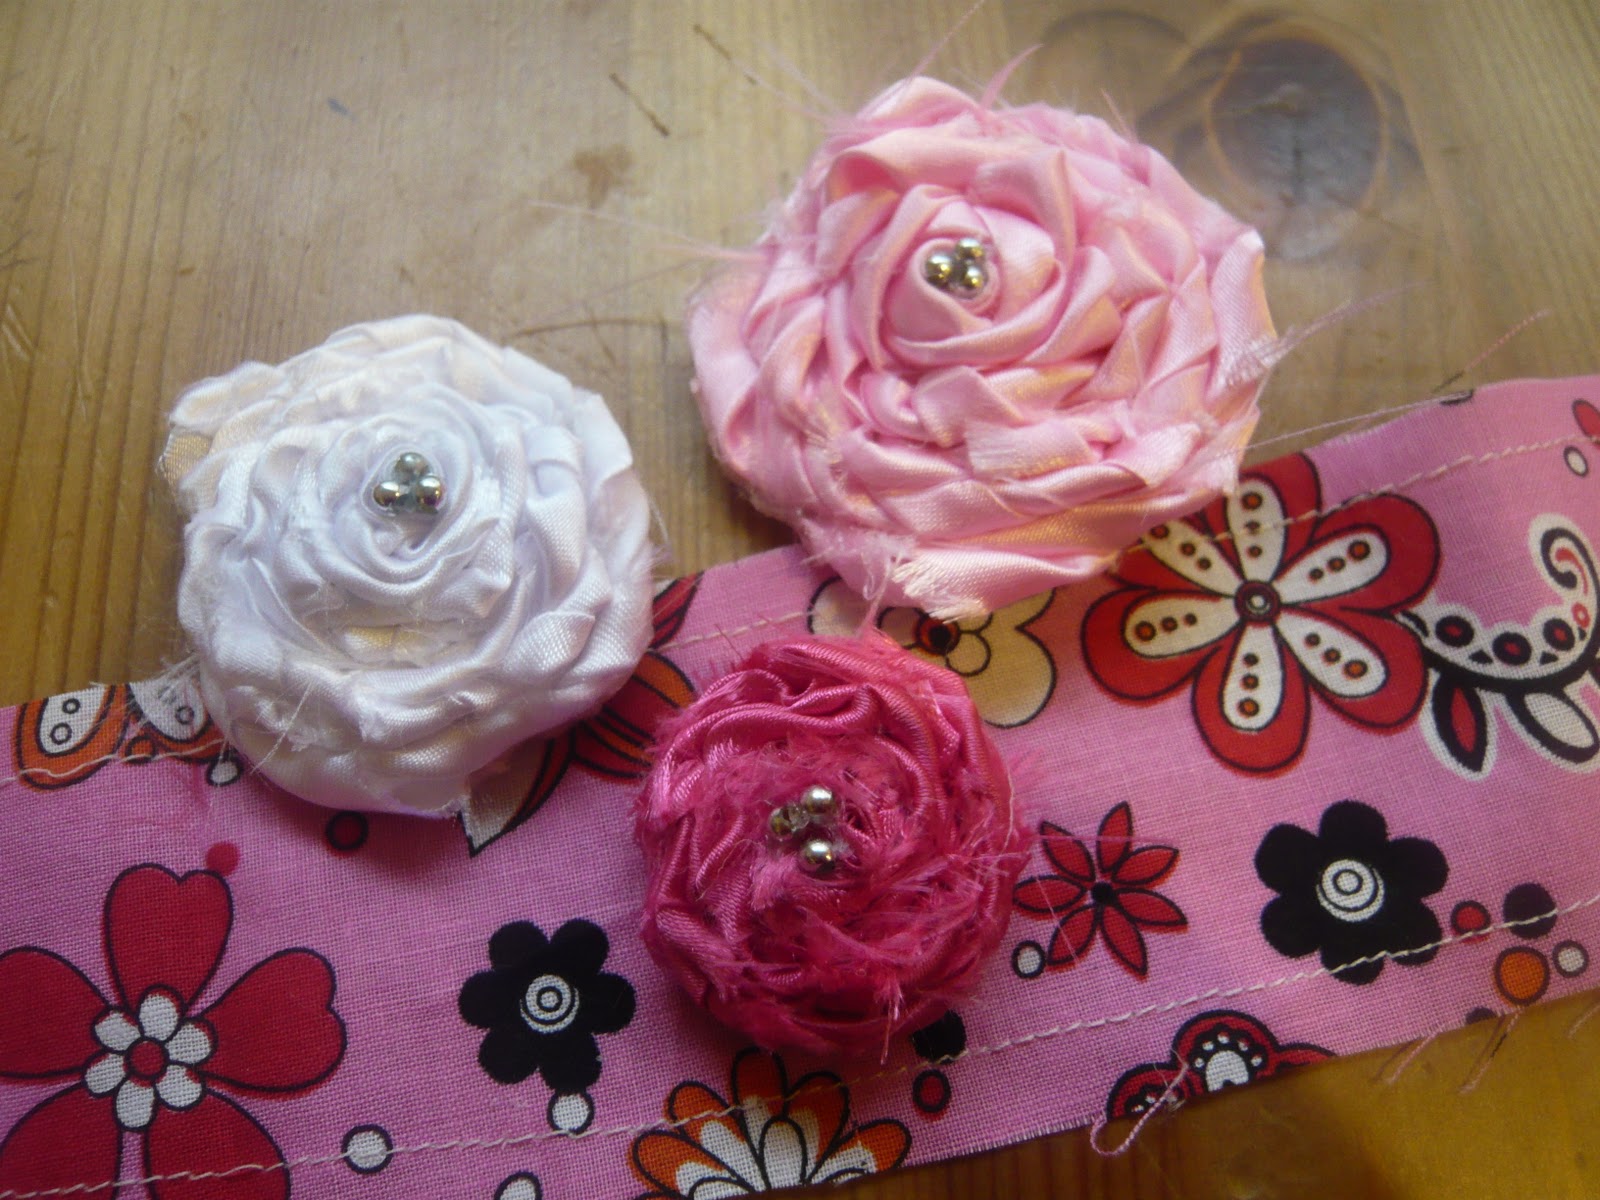
These headbands are so cute and easy to make.  I think that they look darling on anybody but they are stinkin' cute with shorter haircuts.  The sky is truly the limit with these fancies.  The color combinations, fabrics and types of flowers are limited only by your imagination. 

What you're going to need:

-Fabric for the headband
-Fabric for the leaves
-Fabric for the flower (what type of flower you choose to do will determine how much fabric you will need)
-Felt (scraps would probably work)
-Sewing Machine
-Glue gun

First we need to cut the head band.


The length will be dependent on who you are making it for.  An adult headband should measure 33 inches long, 2 inches wide in the center tapering down to an inch wide.   For an (Aubrey sized) child's headband the measurement will be the same except the length, which is 30 inches. 

Make sure to cut the ends on a diagonal.


After you have cut the headband out, take it to your sewing machine and do a simple straight stitch around
the edge of the entire headband. 


This stitch is a border, so keep it a 1/4 inch from the edge of the fabric all the way around.


On to the flowers.  This is where you can get creative. There are lots of different kinds of flowers you could use.  I think this, or these two would be fun. 

For Aubrey's headband I decided to try some rolled flowers.  Here's how I did them:

Cut your fabric that you are using for your flower into a 2 inch strip, the length depends on how big you want your rosette.  Mine varied in length from 24 to 30 inches.

Fold your strip in half so it's 1 inch wide.  Iron this flat.

Roll the end of your strip tightly.  This roll makes the center of the rosette.  Use a small amount of hot glue to keep it from coming undone.


Glue the flower center to a small piece of felt.


Twist the fabric as you wrap it around the flower's center.  Every few twists use a dab of glue to hold it all together.  Pretty soon it will start to look like a flower.  Just keep twisting and gluing.     


After you are done with the twisting and gluing, cut the felt around the rosette, and glue some bling in the center if you'd like to.


I made three rosettes for Aubrey's headband. 


Cut out two leaves and sew around the edges the same way the headband was sewn.


Use hot glue to attach the flowers to the headband.  Smaller flowers could be sewn on by hand.


And guess what!?  You're done!  Super cute, right?

I tried to get some pictures of Aubrey wearing hers.  We had it in her hair all cutsie and... she pulled it out, then pulled it out again and then again.  This picture was taken a few minutes before bed and it's the best I was able to get.


I made one for myself, too!

Monday, November 29, 2010

Girls Weekend Part 4

My cute sister-in-law taught us to make these adorable hats.  They are perfect for the snowy weather that we've been having lately. Cute, Functional and best of all. . . Free!  Yeah, that's right, FREE! 

These little beauties are made out of old sweaters.  You know, those ones that are stacked in the back of your closet just waiting for a new lease on life?  Pull them out and let's get to work!


Amber's Class:

What you're going to need:

-An old sweater for the hat
-An old sweater of a different color for the flower (a cardigan-weight sweater works best for the flowers)
-Buttons or other embellishments for the flower's center (maybe from one of your sweaters?)
-Needle and Thread
-A tape measure
-A sewing machine  Don't be afraid, it's really very simple.

Alrighty,  let's get to it!

First, measure your head to get a good measurement for how big to cut your hat (we'll get to cutting in a minute).  My head measured 21 1/2 inches, Aubrey's measured 20 inches.


Now that you have your measurement we're going to cut out the pieces for the hat.  There will be two pieces: the front and the back. Because sweaters are stretchy you want to cut it a little smaller than what you measured.  I cut mine into 2- 9 inch x 9 inch squares.  Aubrey's was cut into 2- 8 inch x 8 inch squares.

Take the sweater that you are making the hat out of and cut out your squares.  Use the bottom of the sweater so that the ribbing will be on the bottom of your hat.


At this point, your hat will look like this:


...and your sweater will look like this:


At your sewing machine, sew right sides together by sewing a 1/4 inch seam up both sides of your hat, making a tube. 


When you sew the top make sure to round off the corners so that you don't end up with horns.


After you have all three side sewn, turn it right side out and try it on to check the fit.  If the corners need to be rounded off more, do that now.

Now that the hat is done, we'll do the flowers.

The flowers are made from circles of different sizes cut out of the second sweater. Use lids, cups, jars or CDs (whatever you have laying around) as templates for the circles.


If you want a frillier flower do more circles.  We found that at least five circles looks best.


Back at the sewing machine, change your stitch to zig-zag.  Sew around each of your circles, keeping your stiches as close to the egde of the fabric as possible.  As you make your way around the circle pull the fabric tight.  This will make the ruffles on the edge of the flower.


After you've sewn around all of the circles your flower is ready to assemble.  Just stack them up, biggest to smallest, choose your button for the center and hand sew them onto your hat. 


Voila!  A cute winter hat out of an old sweater you were going to get rid of anyway!


Wednesday, November 24, 2010

Girls' Weekend Part 2

For our Girls' Weekend we each came prepared with a "mini class" to teach. It was so much fun to anticipate what everybody was planning. First, I'll show you what I taught the gals.

Kari's Class:  Paper Wreath


I love mixing old and new. In my home you will find old windows and chairs alongside our newer furniture. I bought an old gun box from a garage sale not because we own a single gun but because I loved its rustic, weathered look. My Grandma's violin sits, nested with other newer knick knacks, and old books are piled on the shelves and tables around my house.  I love the character and diversity that they add to a space. So, when I came across this idea, I was immediately drawn to it.  It's perfect because it is made from something I love anyway....old books!

Here's how we made it.  (By the way, these have been all over blogland in recent years, so, I'm not claiming this as my own idea.  In fact the original inspiration came out of a Pottery Barn Catalog).

First, get an old book and tear out a bunch of its pages.  I'll be honest and tell you that I felt guilty buying books with the sole purpose of tearing them to shreds.  But when I saw how cute our wreaths were turning out, I got over it pretty quickly.  As my Mom said, "This is just another way to love them."

Okay, now you need a base for your wreath.  I just cut ours out of cardboard.   A plate and a cup worked great as templates.


Next, roll your pages into funnels.  We experimented with different shapes and sizes and discovered it really doesn't matter, the end result is beautiful.  Uniform funnels = a beautiful paper wreath.  Haphazard funnels = a beautiful paper wreath.  Whatever you like.


With a hot glue gun start gluing the funnels down in a North, South, East, West pattern.


Now for the fun part!  Start filling in the empty spaces with your funnels.


Keep filling things in until you have the whole bottom row done and it looks something like this. 

As you move onto the next row stagger the funnels so that any bare spaces are covered up.  Keep gluing until you are happy with how full it is (I ended up doing three rows).

Add a little ribbon to hang it with and...Ta-DA!  A beautiful paper wreath from an old book, some scrap cardboard and a whole lot of hot glue!


 Next up is Marci's Class.  The perfect post-Thanksgiving post!
Related Posts Plugin for WordPress, Blogger...