

Mom's Class:
These headbands are so cute and easy to make. I think that they look darling on anybody but they are stinkin' cute with shorter haircuts. The sky is truly the limit with these fancies. The color combinations, fabrics and types of flowers are limited only by your imagination.
What you're going to need:
-Fabric for the headband
-Fabric for the leaves
-Fabric for the flower (what type of flower you choose to do will determine how much fabric you will need)
-Felt (scraps would probably work)
-Sewing Machine
-Glue gun
First we need to cut the head band.

Make sure to cut the ends on a diagonal.


After you have cut the headband out, take it to your sewing machine and do a simple straight stitch around
the edge of the entire headband.

This stitch is a border, so keep it a 1/4 inch from the edge of the fabric all the way around.

On to the flowers. This is where you can get creative. There are lots of different kinds of flowers you could use. I think this, or these two would be fun.
For Aubrey's headband I decided to try some rolled flowers. Here's how I did them:
Cut your fabric that you are using for your flower into a 2 inch strip, the length depends on how big you want your rosette. Mine varied in length from 24 to 30 inches.
Fold your strip in half so it's 1 inch wide. Iron this flat.
Roll the end of your strip tightly. This roll makes the center of the rosette. Use a small amount of hot glue to keep it from coming undone.

Glue the flower center to a small piece of felt.

Twist the fabric as you wrap it around the flower's center. Every few twists use a dab of glue to hold it all together. Pretty soon it will start to look like a flower. Just keep twisting and gluing.

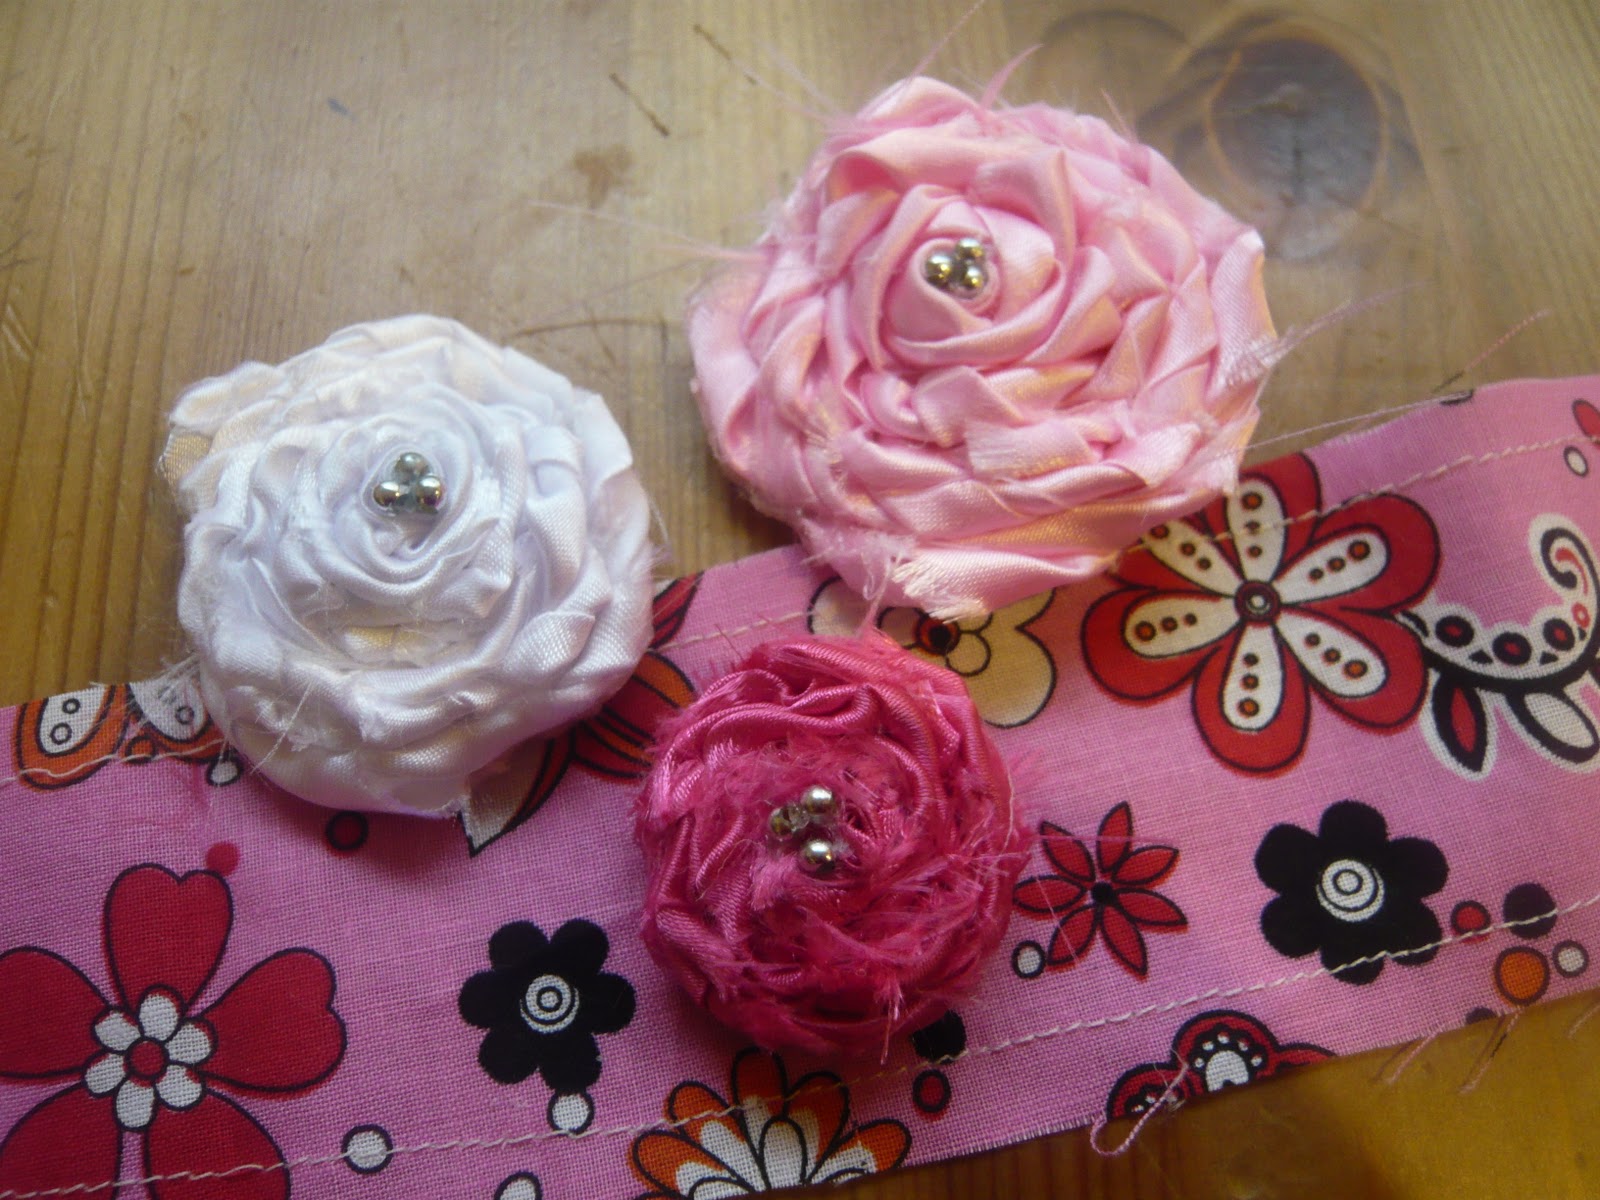
After you are done with the twisting and gluing, cut the felt around the rosette, and glue some bling in the center if you'd like to.


I made three rosettes for Aubrey's headband.
Cut out two leaves and sew around the edges the same way the headband was sewn.

Use hot glue to attach the flowers to the headband. Smaller flowers could be sewn on by hand.

And guess what!? You're done! Super cute, right?
I tried to get some pictures of Aubrey wearing hers. We had it in her hair all cutsie and... she pulled it out, then pulled it out again and then again. This picture was taken a few minutes before bed and it's the best I was able to get.

I made one for myself, too!


2 comments:
The flowers are beautiful! Best I've seen!
Look at you, ms. crafty! I LOVE your headband!
Post a Comment